Tagging in Cloudhouse Guardian (Guardian) means attaching an identifier to a node scan or policy, allowing you to easily distinguish scans or policies from others. For example, after a deployment, you could tag the associated node scan results as 'Post-deployment' to identify the significance of the scan. For policies, you could tag a particular policy version as 'Prod' to distinguish the purpose of each policy version. This topic describes how you can tag a node scan or a policy within your Guardian instance.
Tag a Node Scan
As Guardian automatically scans nodes within the Monitored tab (Inventory > Monitored) every day, you might want to tag them with identifier text to easily distinguish or identify particular scans. This makes it easier to differentiate scans based on the tag you added.
To tag a node scan, complete the following:
-
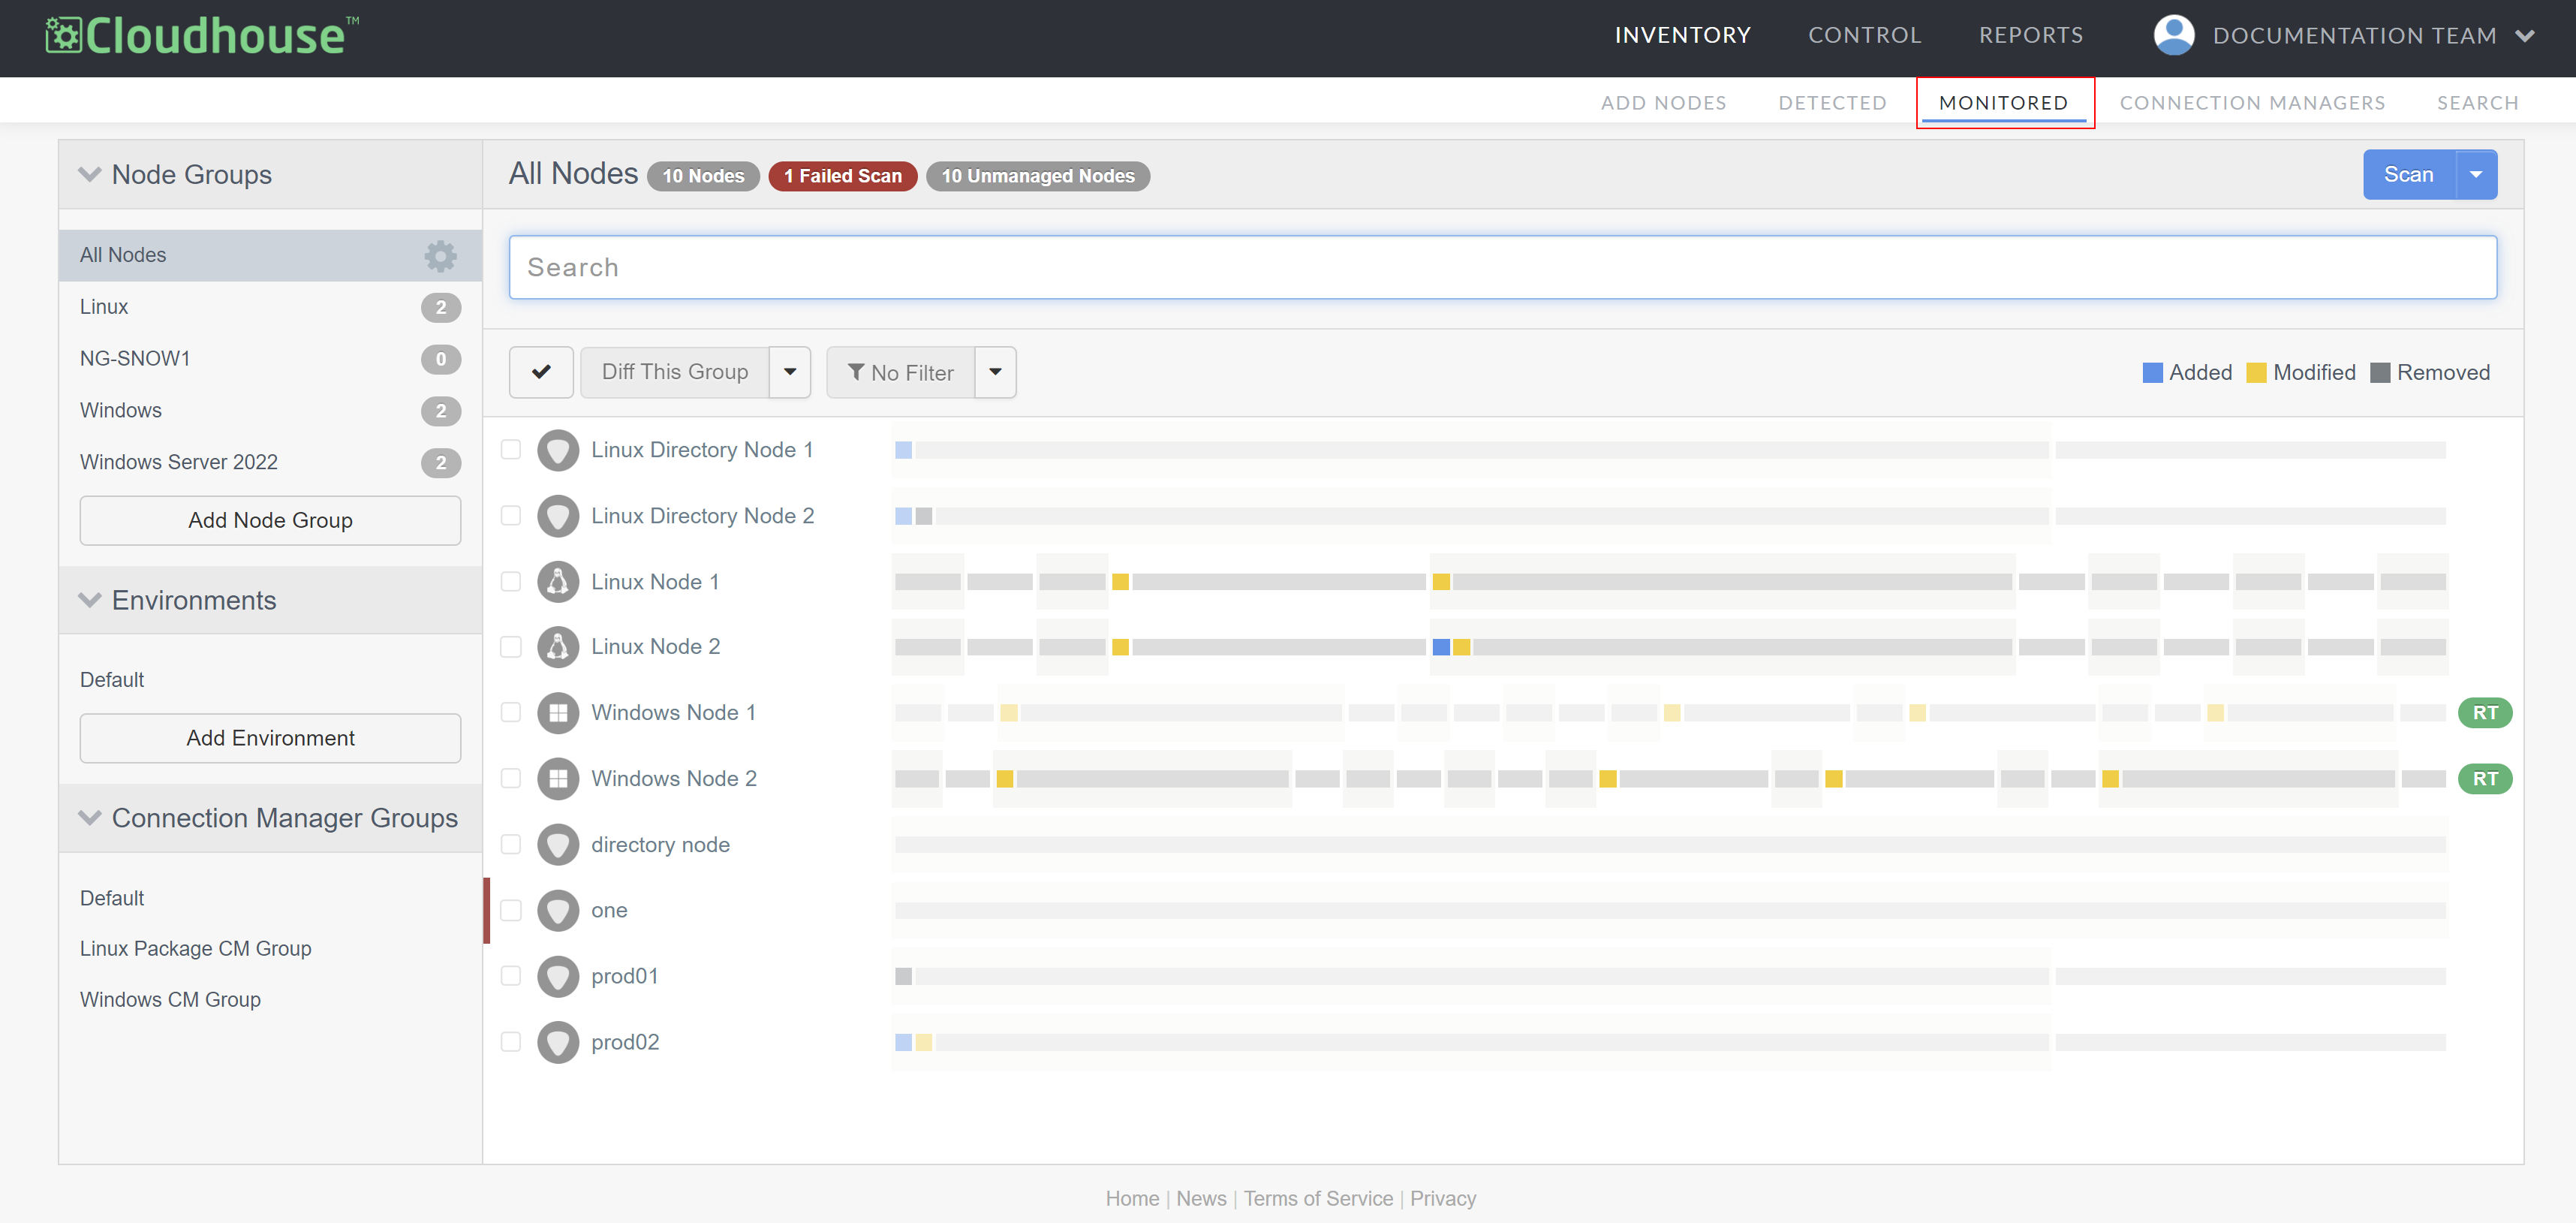
In the Guardian web application, navigate to the Monitored tab. By default, all currently monitored nodes are displayed within the 'All Nodes' node group.
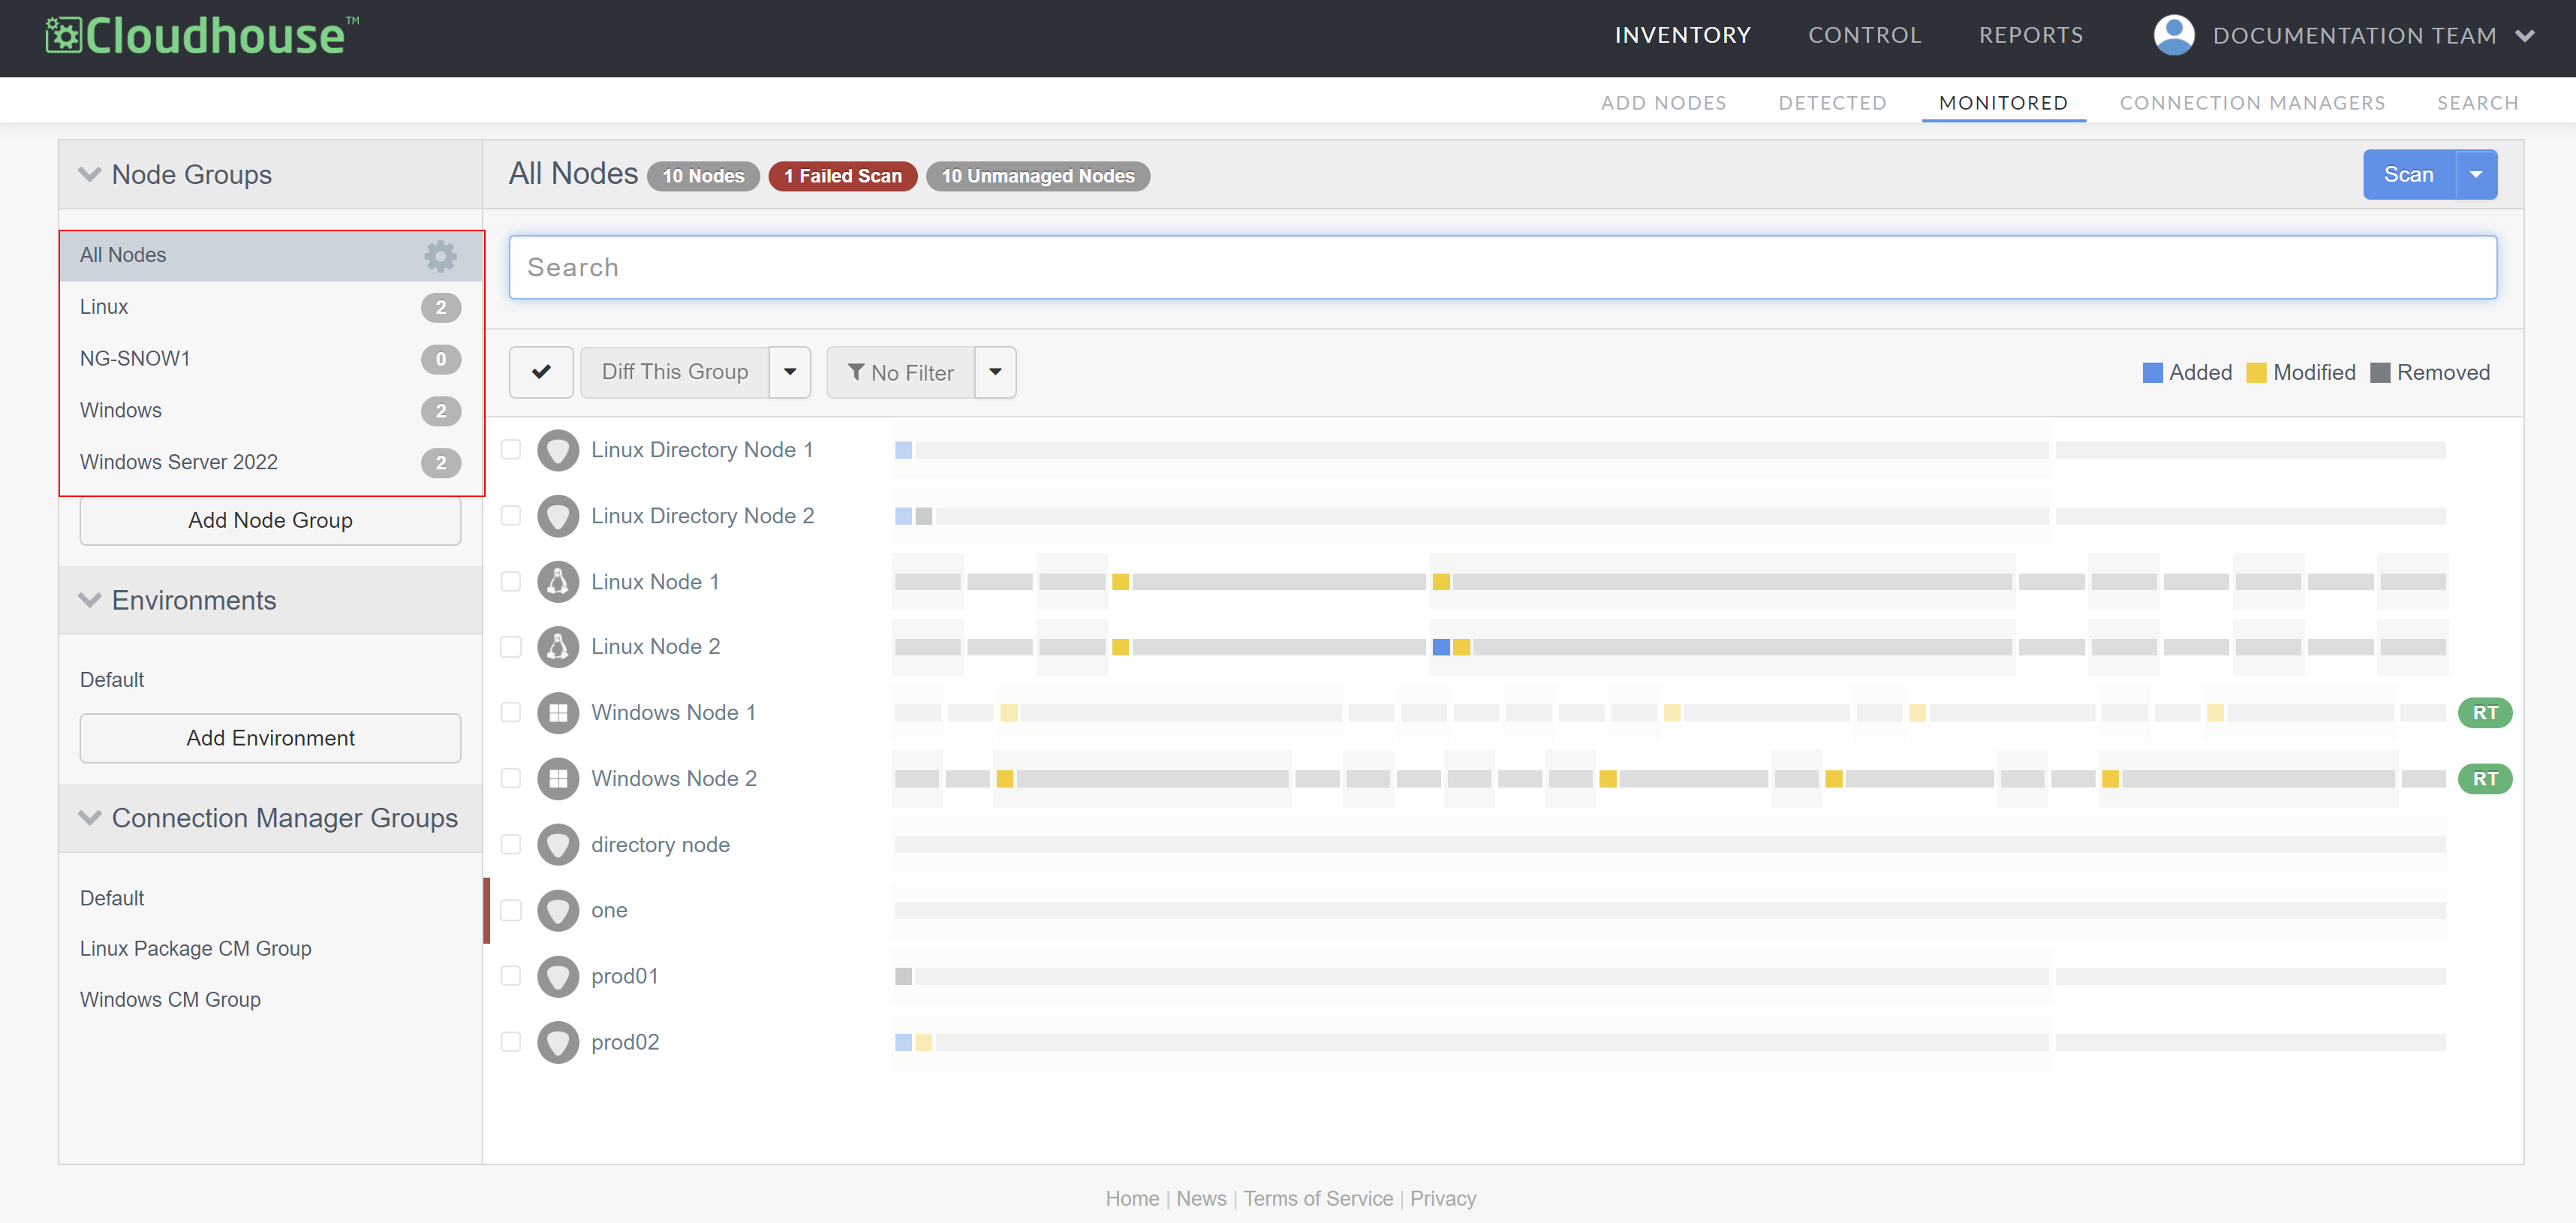
Note: If you want to display the list of monitored nodes contained within a different node group, select a node group from the Node Groups drop-down menu.
-
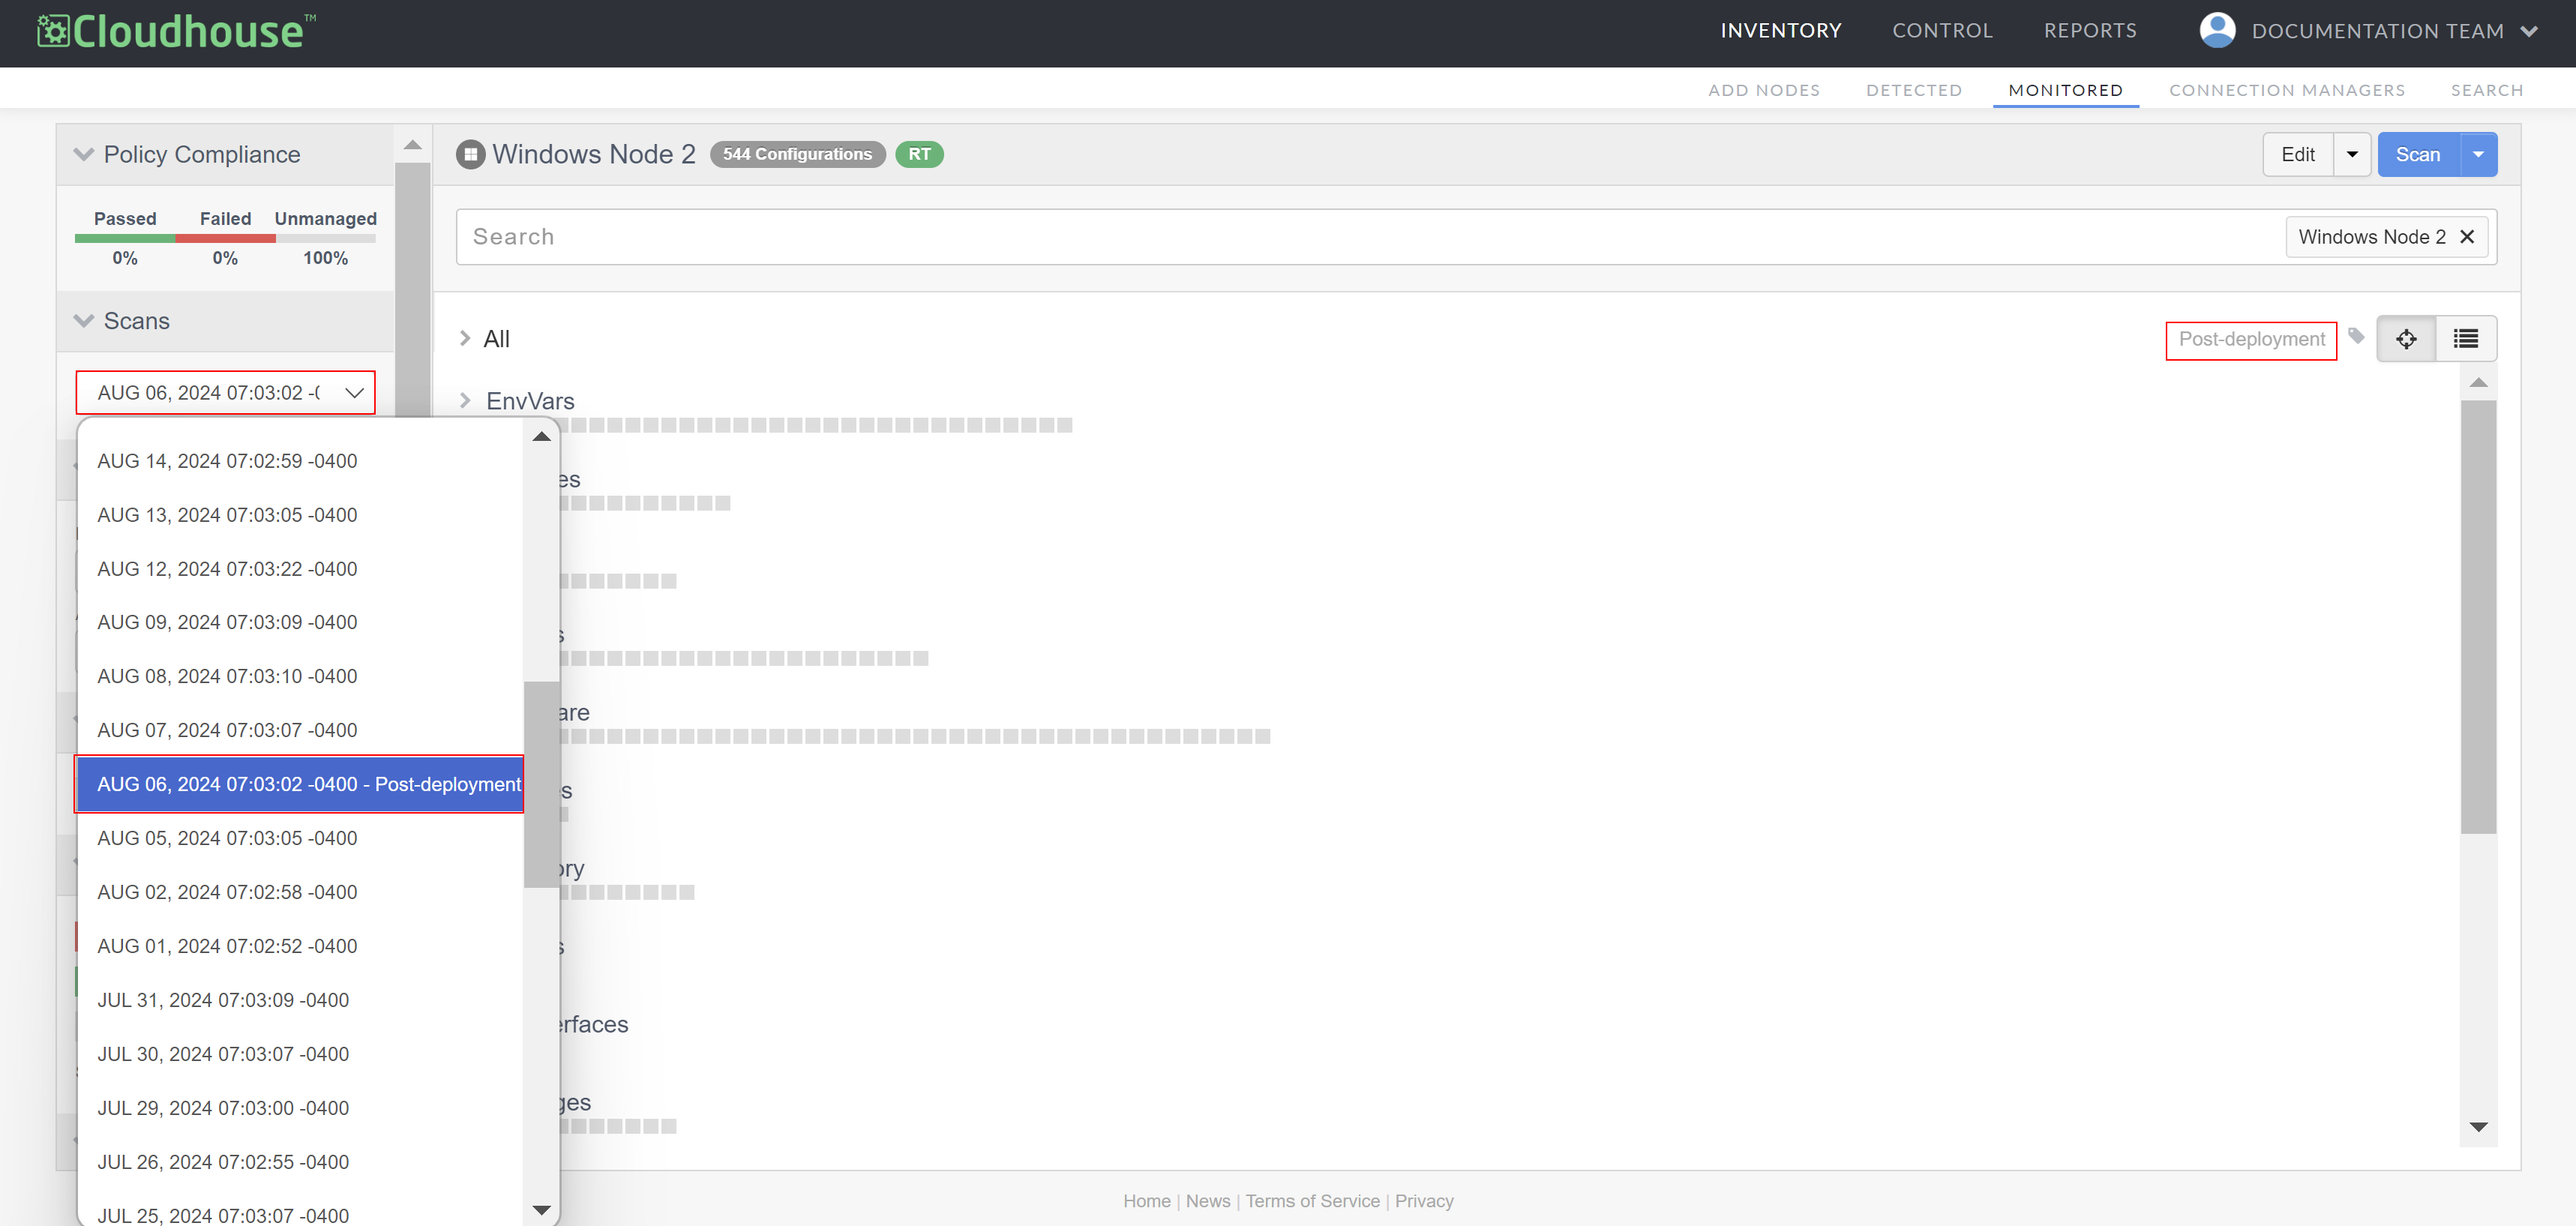
Select the node you want to tag from the list of monitored nodes. The node scan results page is displayed with the results of the latest scan. For more information, see Node Scan Results.
-
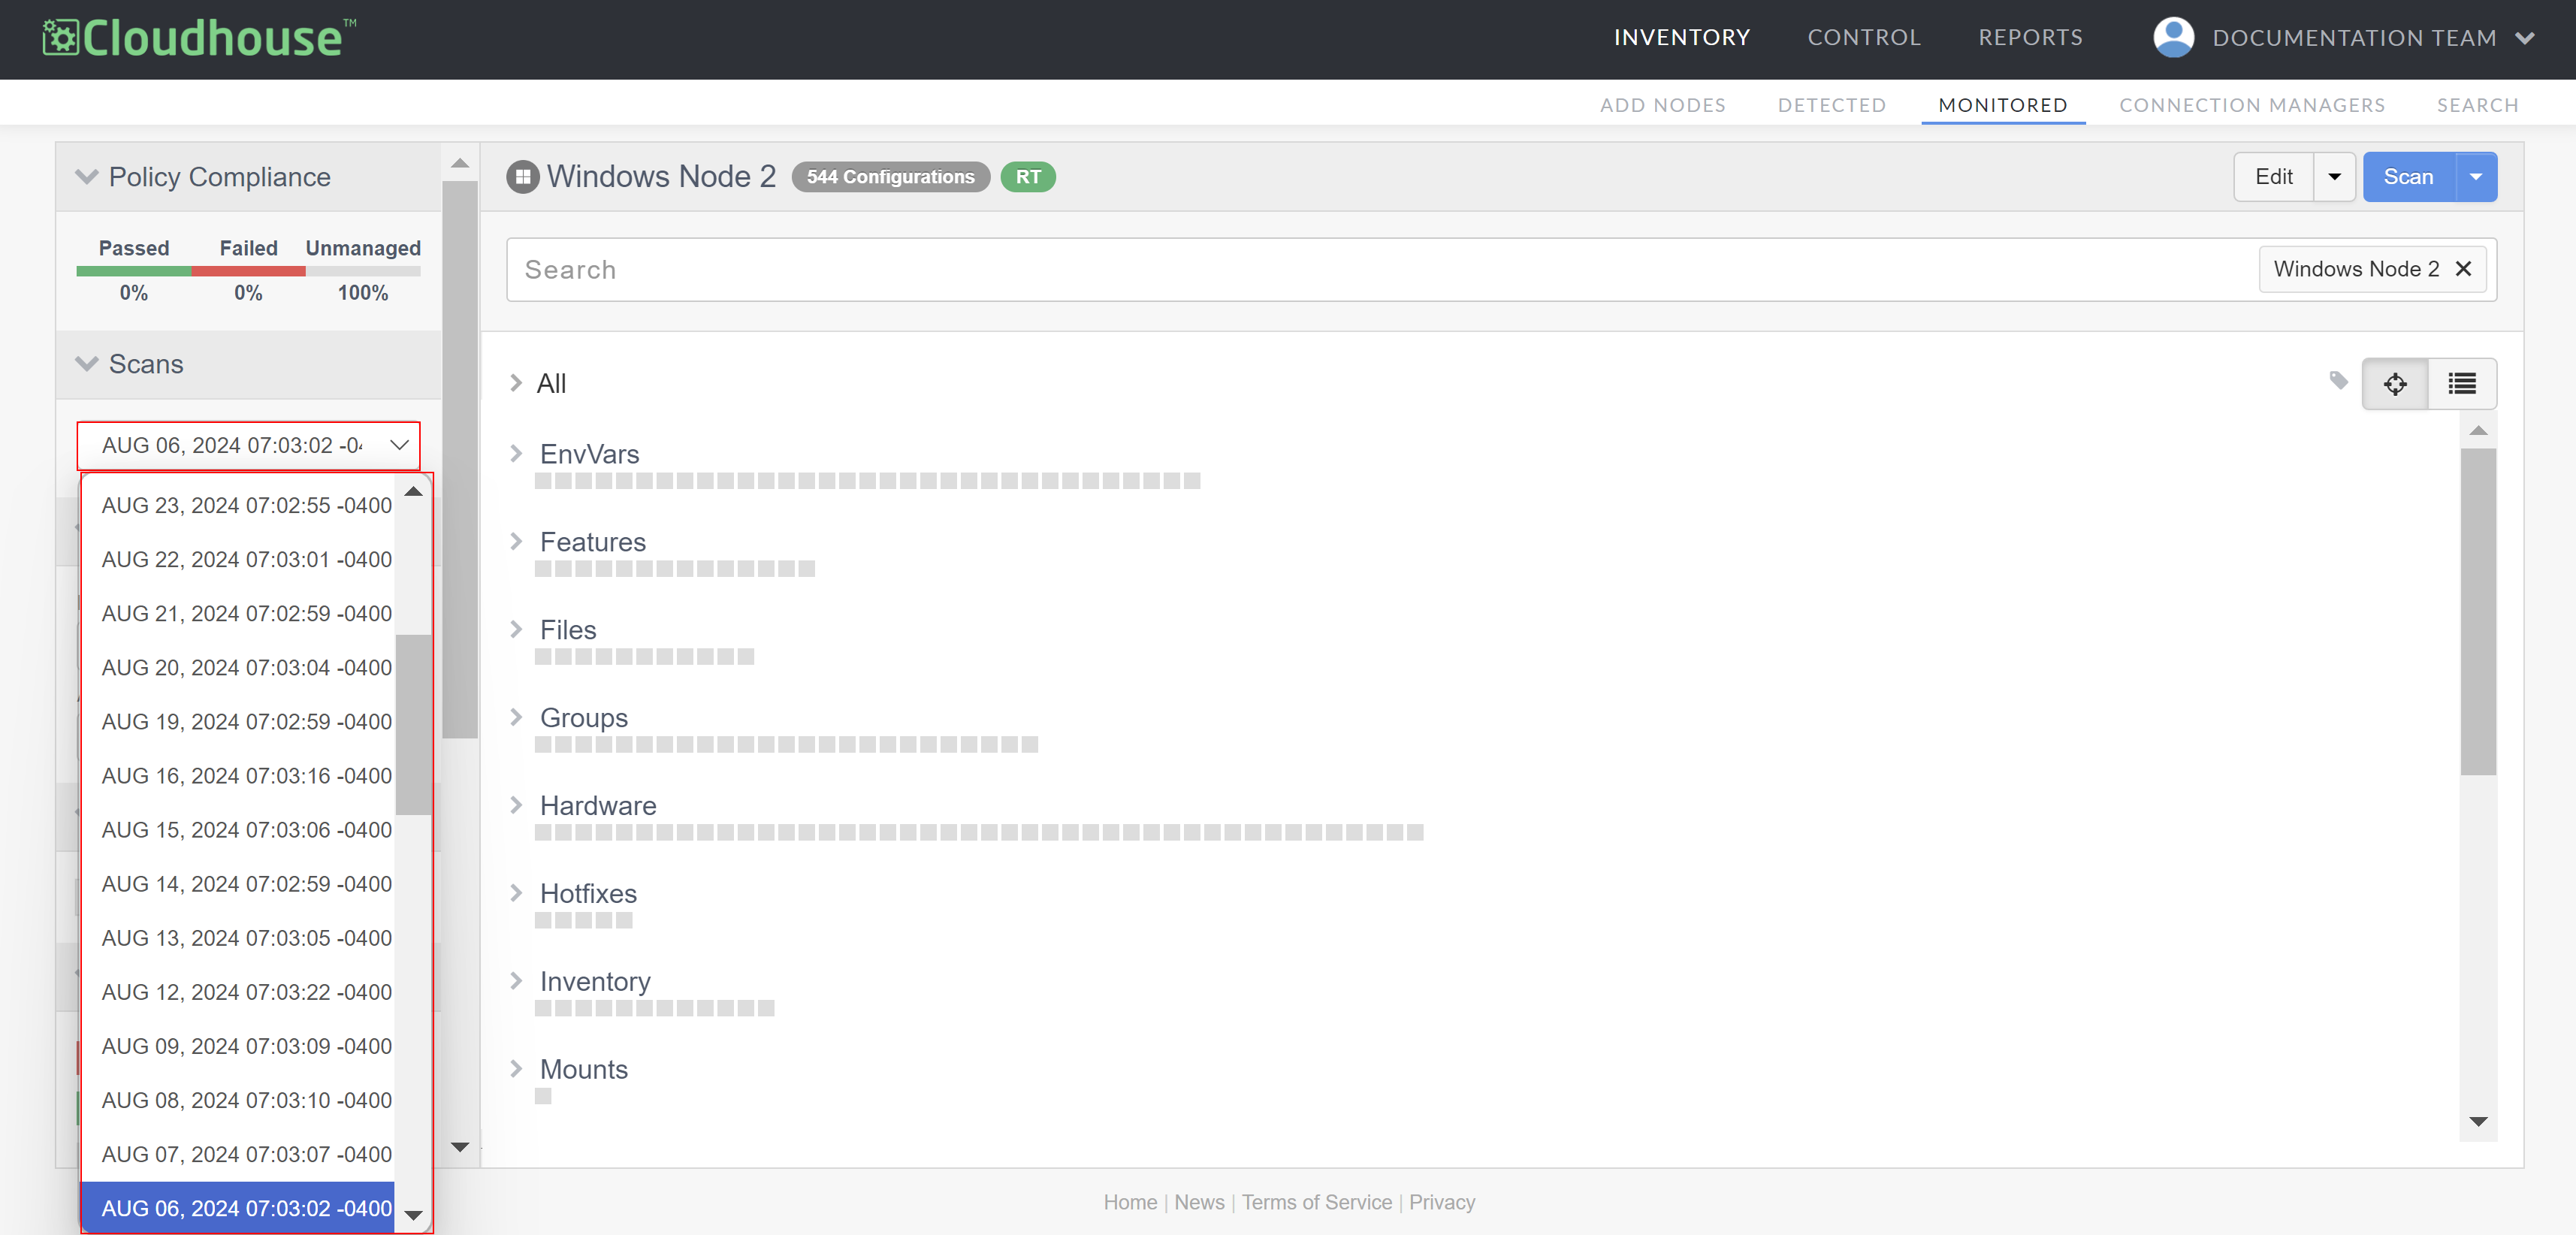
Select a scan from the Scans drop-down menu. Or, skip this step if you want to tag the latest scan, which is displayed by default.
-
Click the Tag button (
 ) to display the tag text field. Enter the text you want to use as a tag and press Enter to confirm.
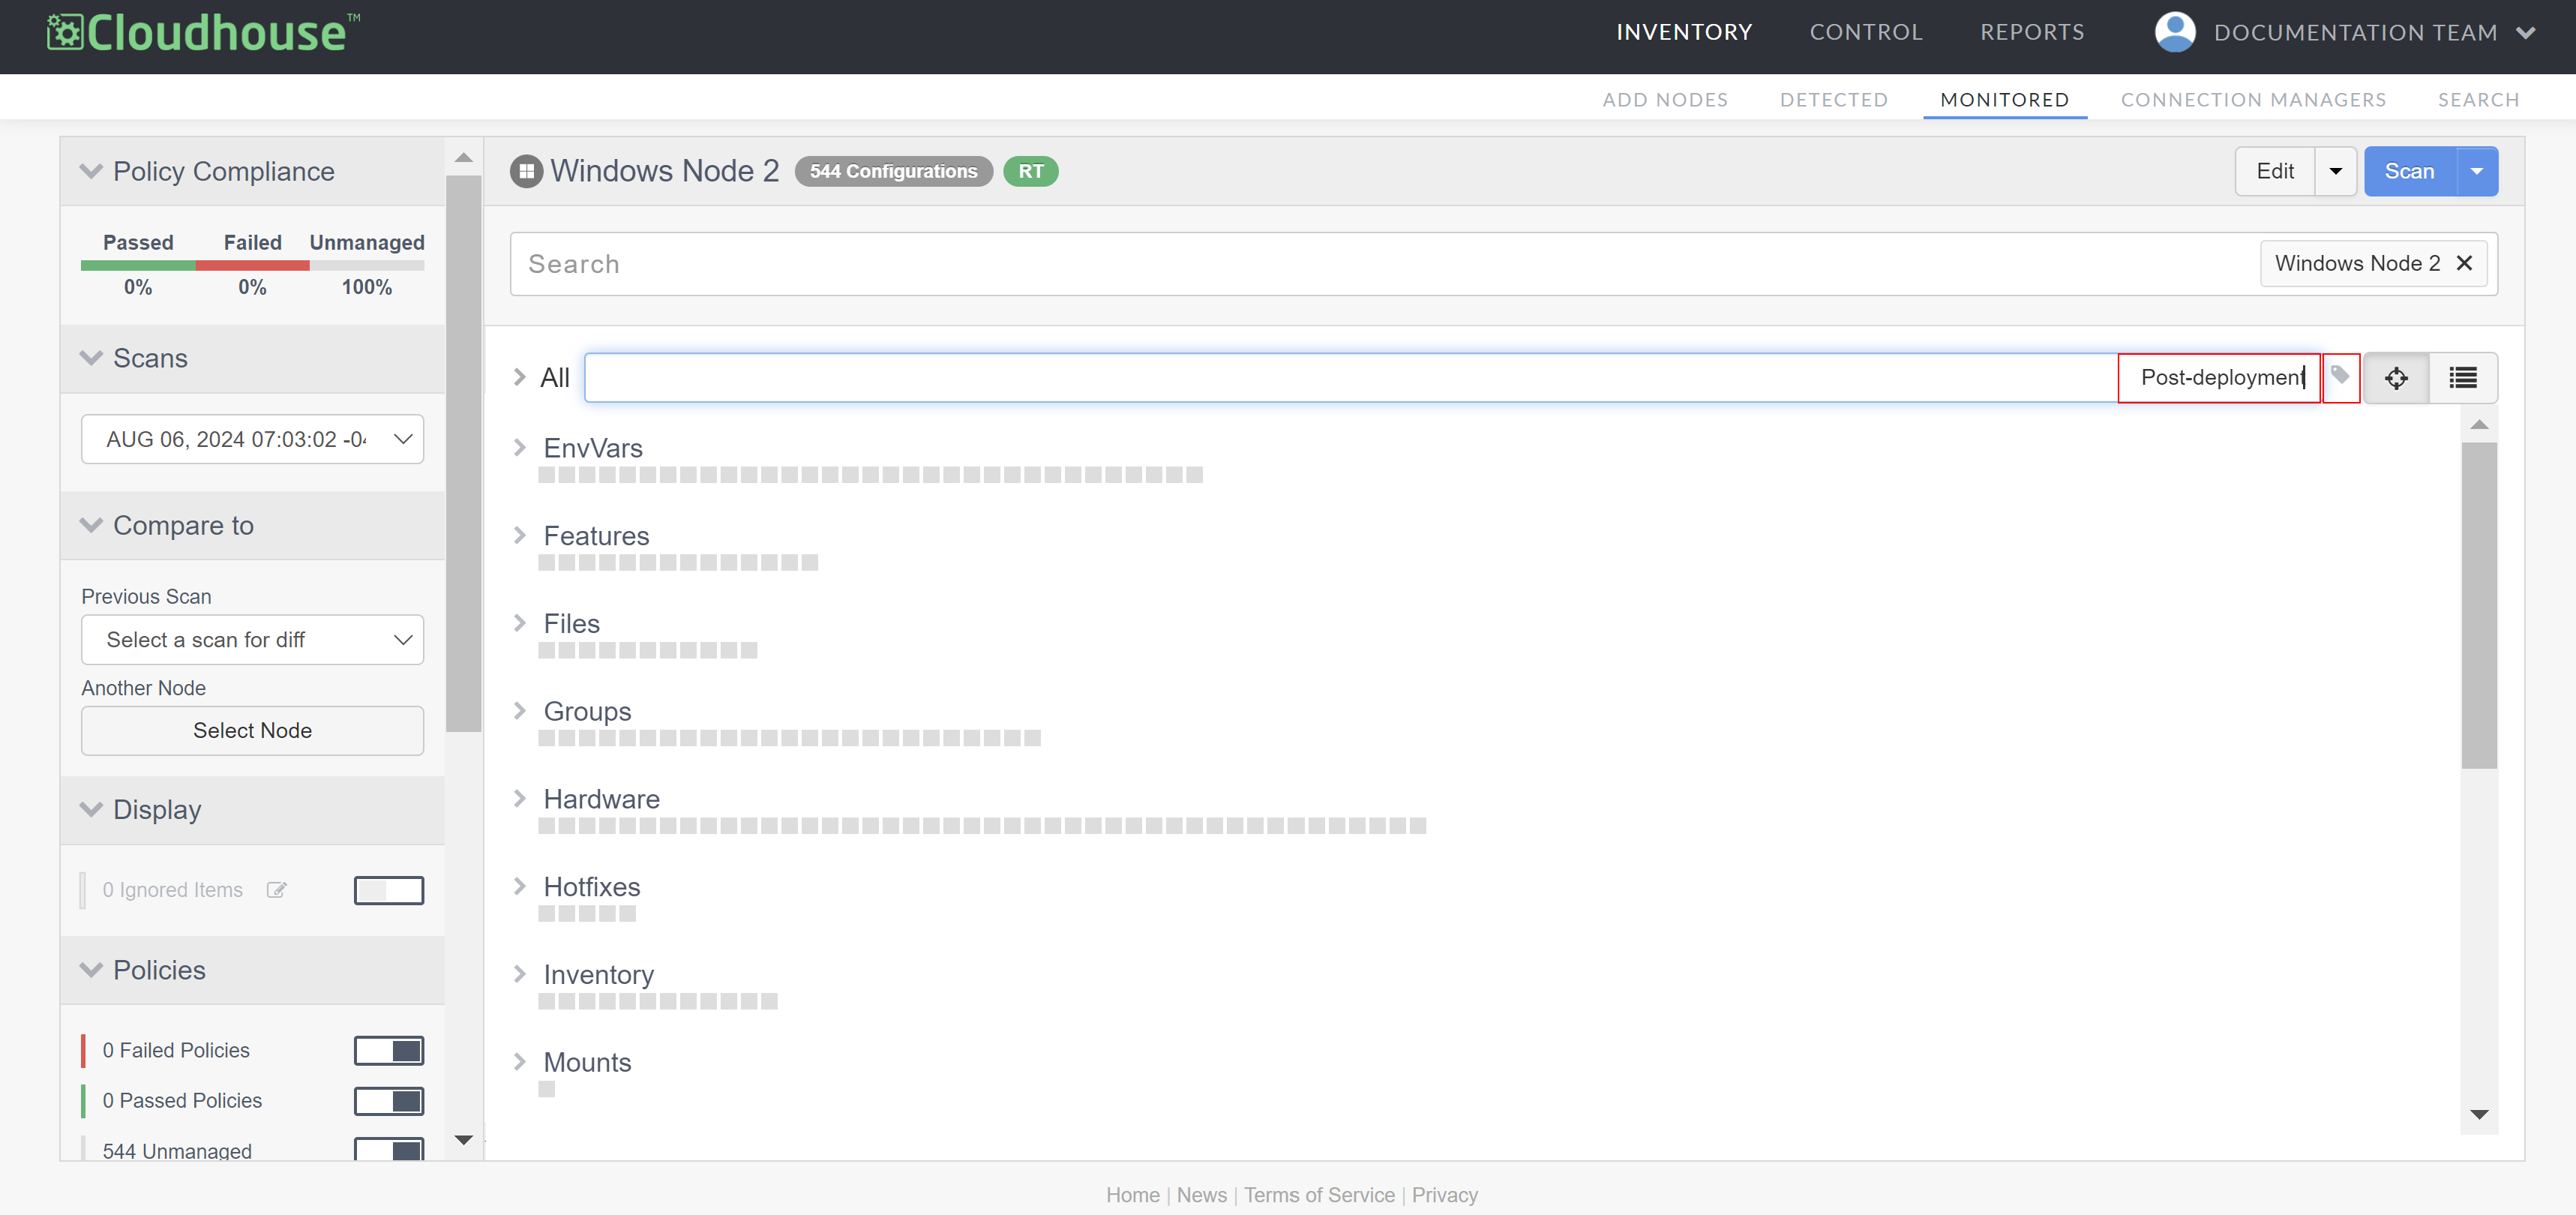
Once confirmed, the tag you entered is visible next to the Tag button (). You can also see the tag in the Scans drop-down menu, attached to the node scan timestamp.
Tag a Policy
In Guardian, when you create a policy it will rarely remain static. You may find yourself creating multiple versions of a policy to keep up with the security requirements of your node set. For example, if you created a policy to check that a certificate expiry date had not been reached, you may find that you eventually need to change the date or add additional certificate expiration dates to the policy's checks.
Every time you make a change to a policy, a new version is created. For large estates with multiple groups of people working on the same node set, oftentimes, people need to use different versions of the same checks in order to assess the compliance of nodes within different environments or states. For example, the Production environment could be using 'V3' whereas the QA environment could be using 'V6'.
With tagging, you can label the corresponding versions as 'Production' or 'QA' to distinguish the purpose (or intended users) of each version.
Note: By default, policies are tagged with the timestamp of when they were created. Once you add a tag, your text replaces that timestamp.
To tag a policy, complete the following:
-
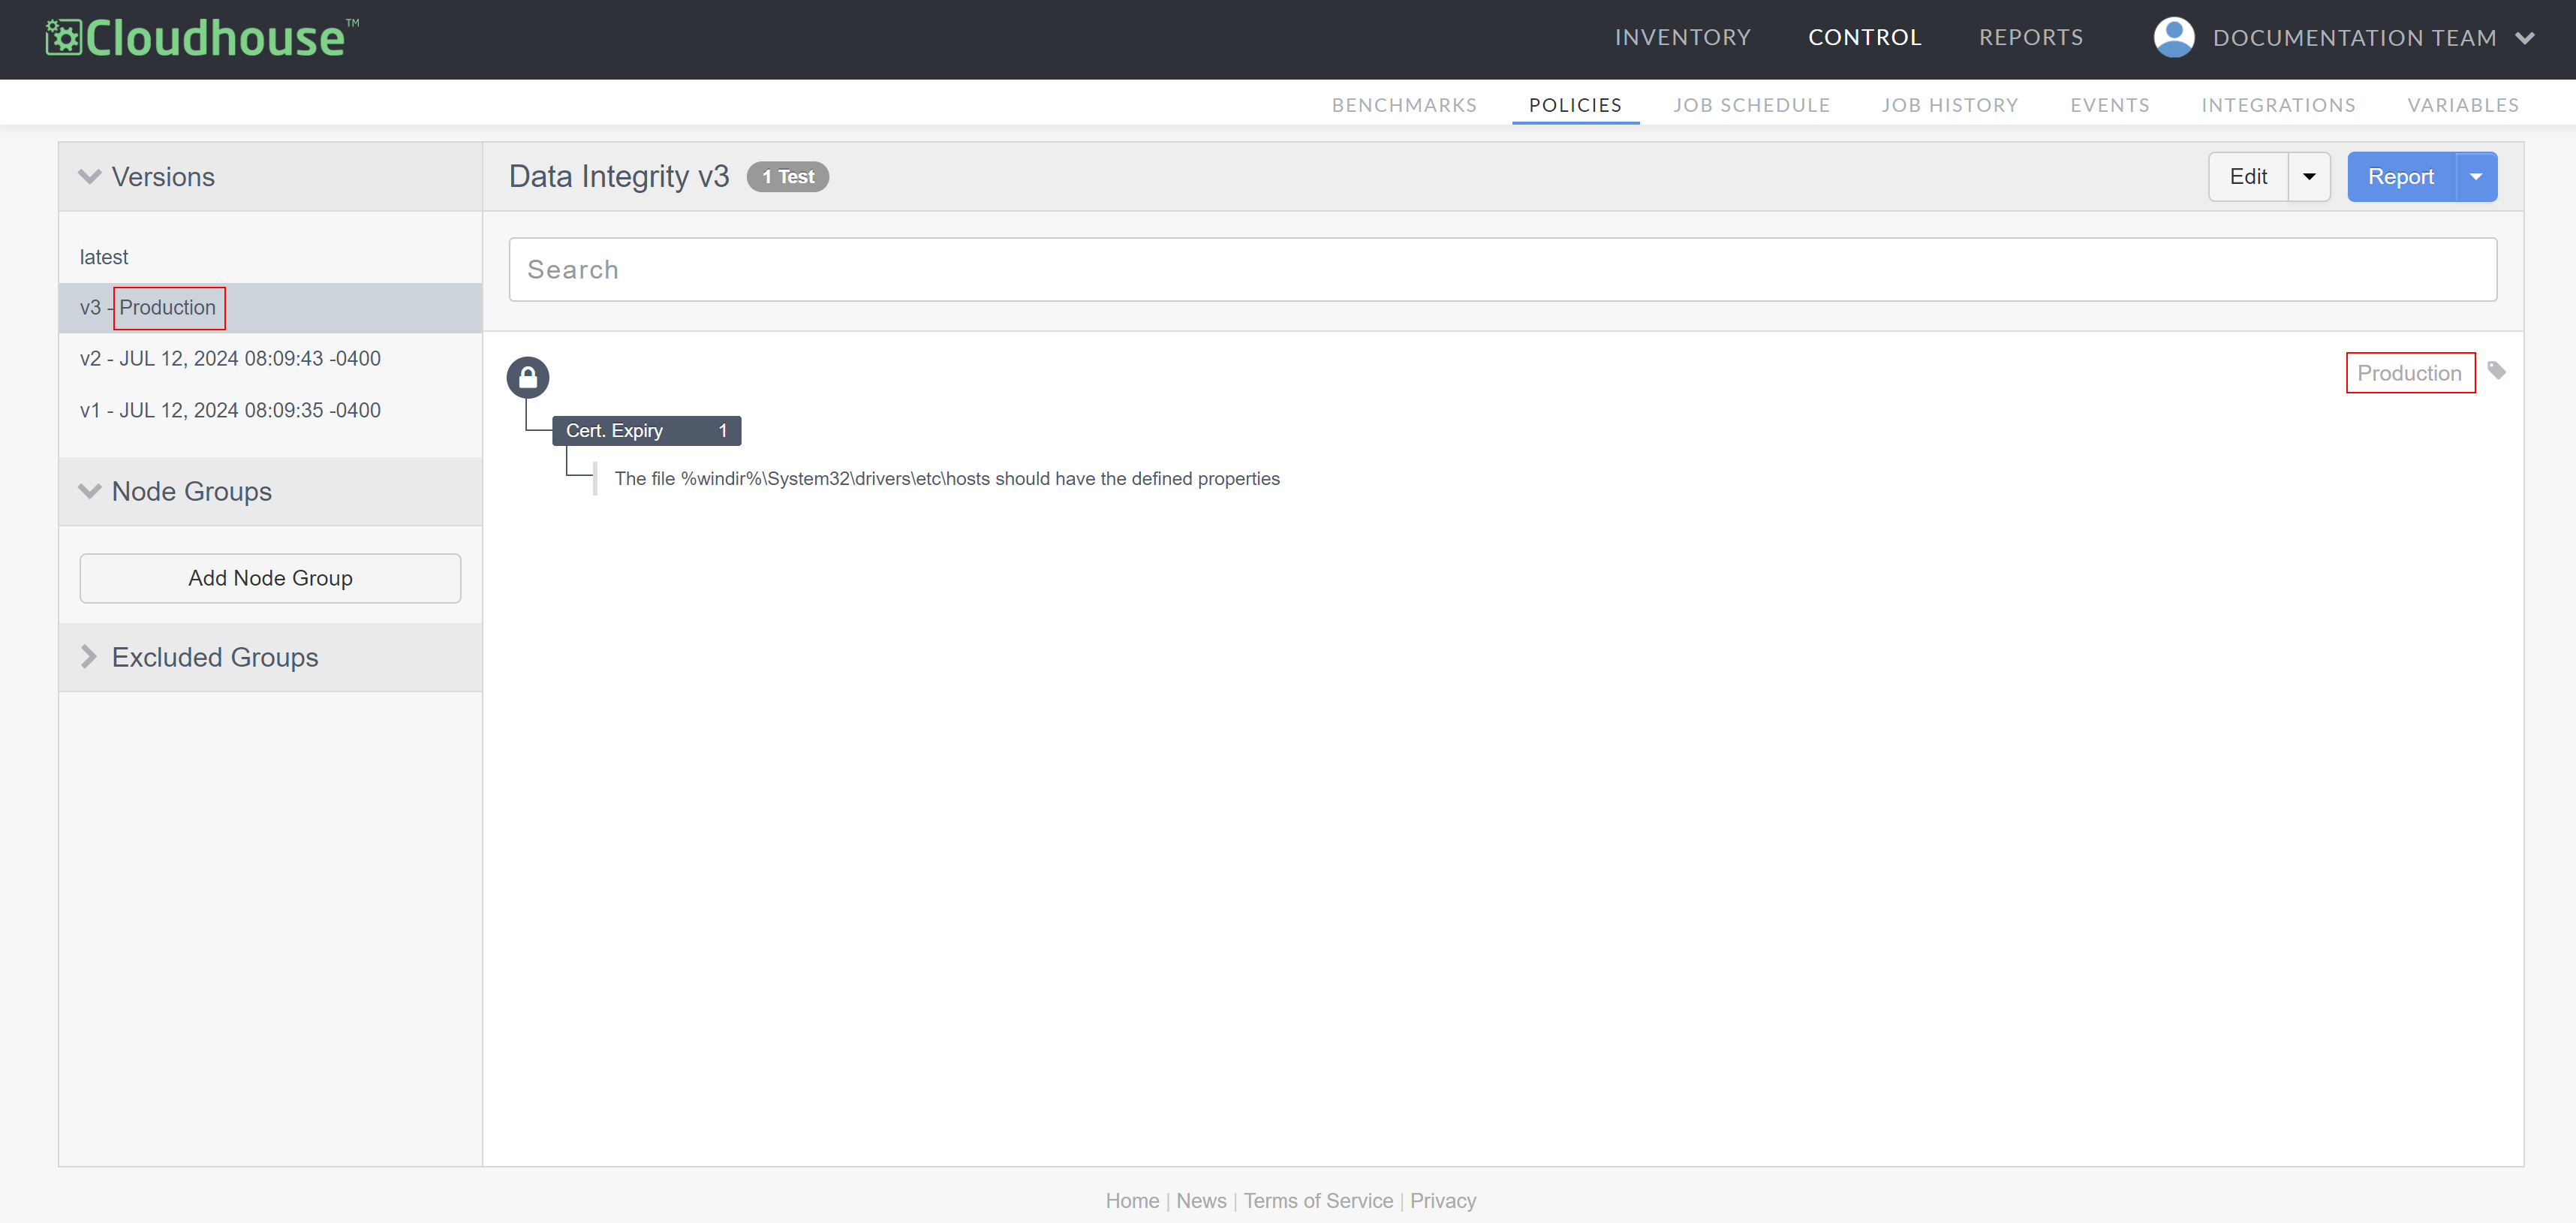
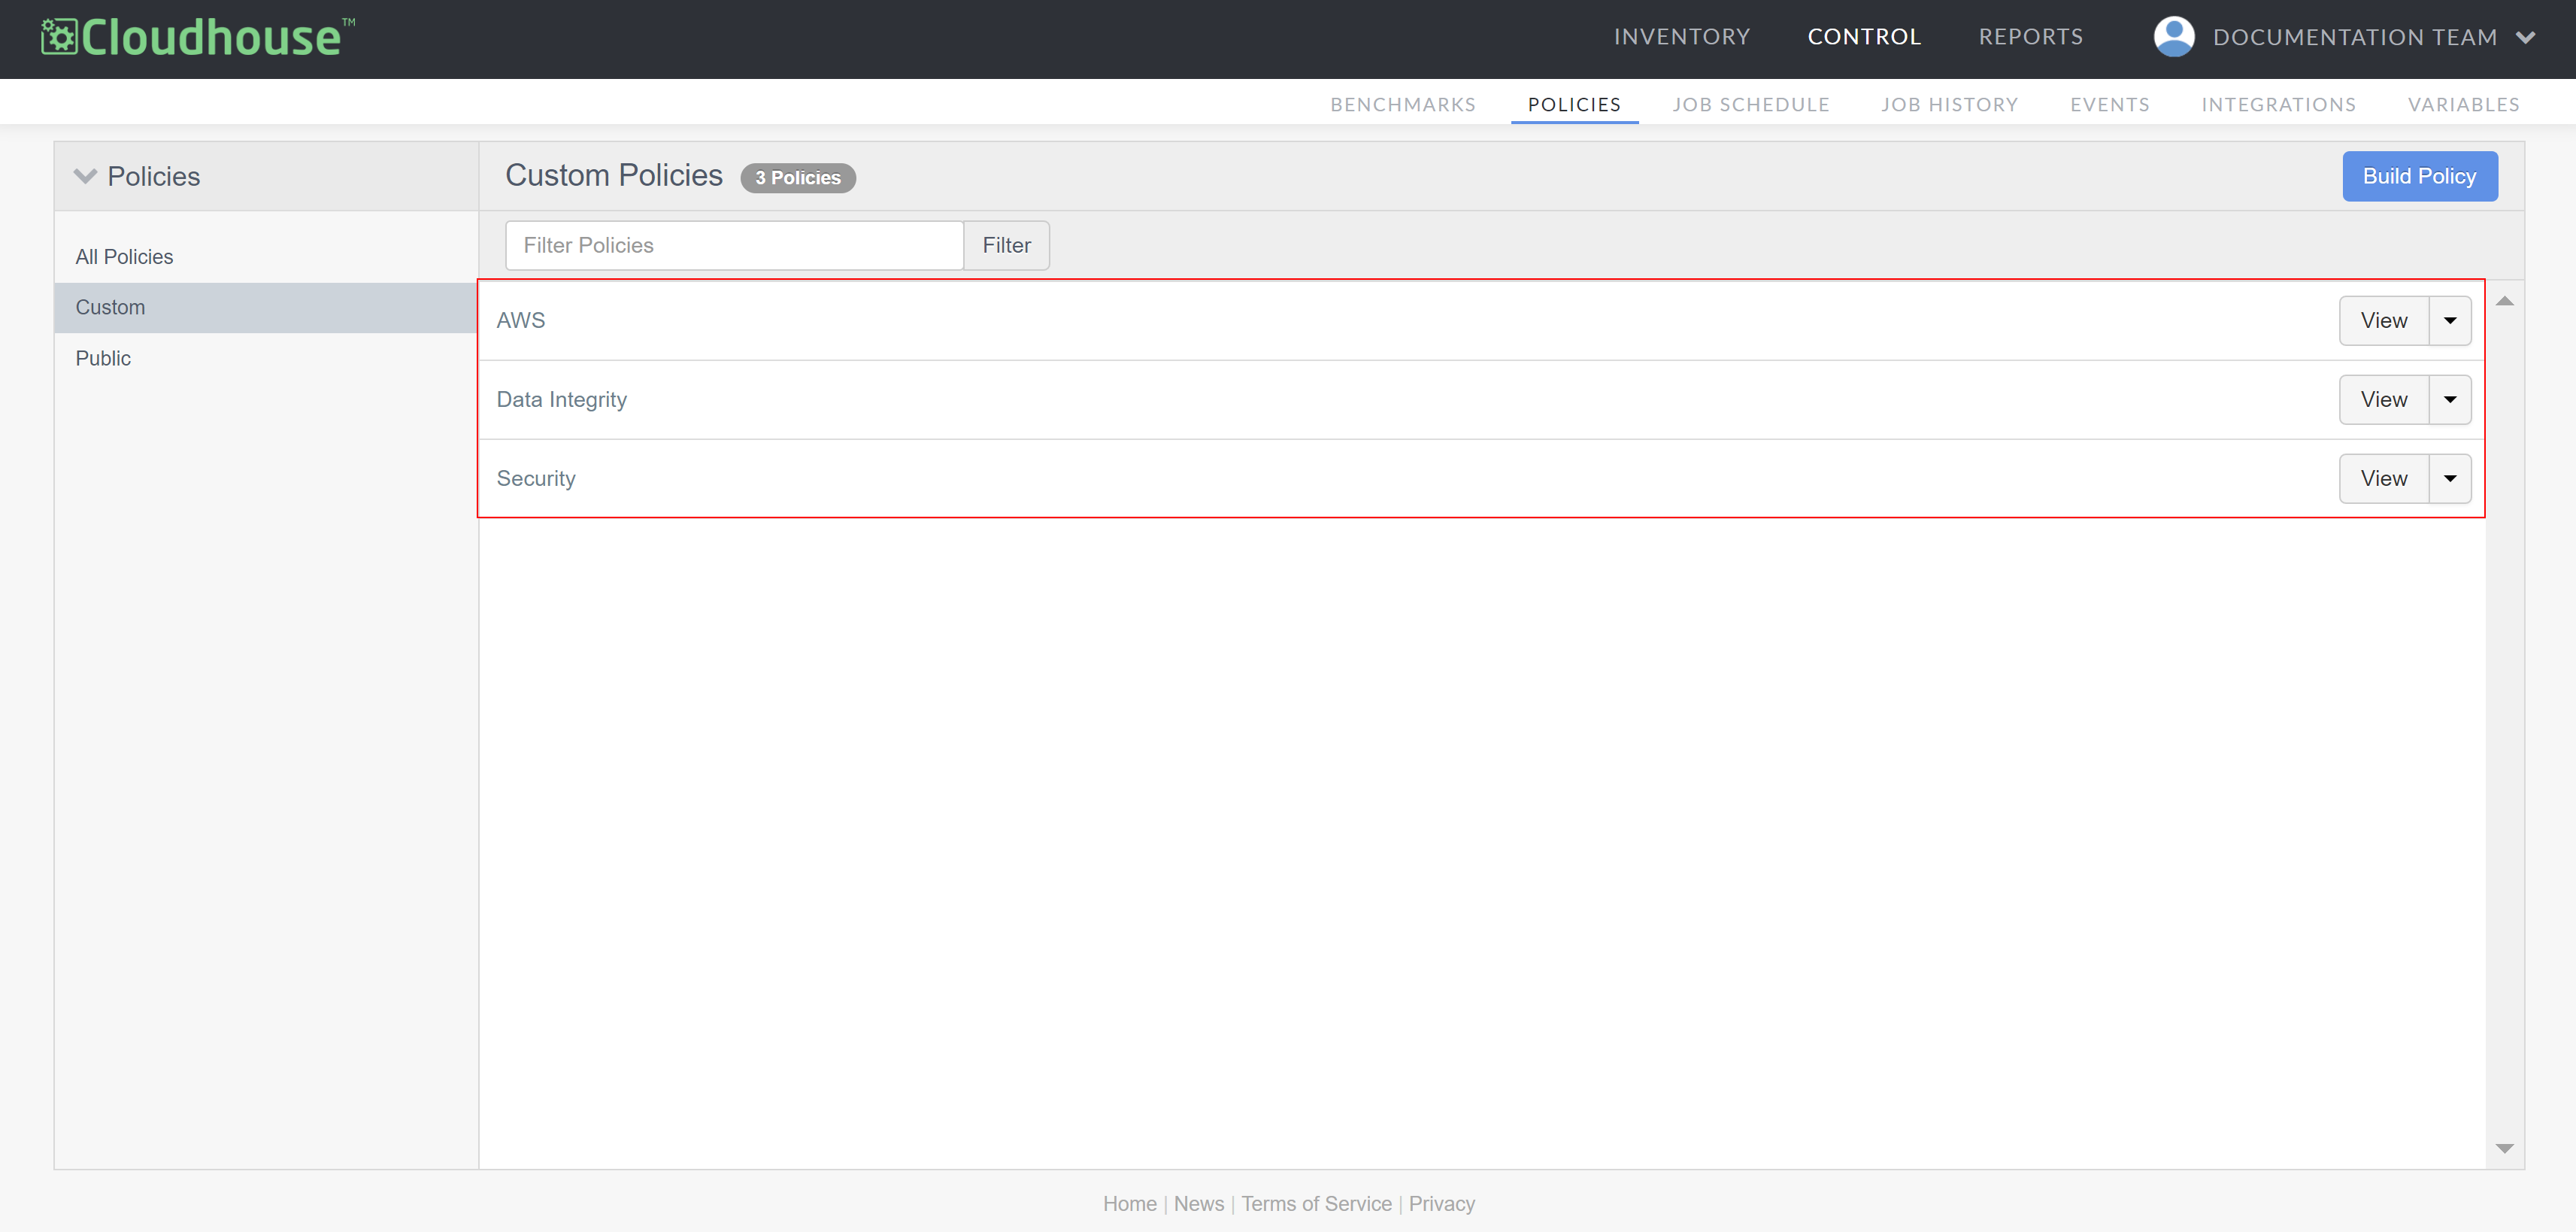
In the Guardian web application, navigate to the Policies tab (Control > Policies).

-
Select the policy you want to tag from the list of existing policies. By default, the 'Custom' policy group is displayed. If you want to see a different group of policies, use the Policies drop-down menu.
-
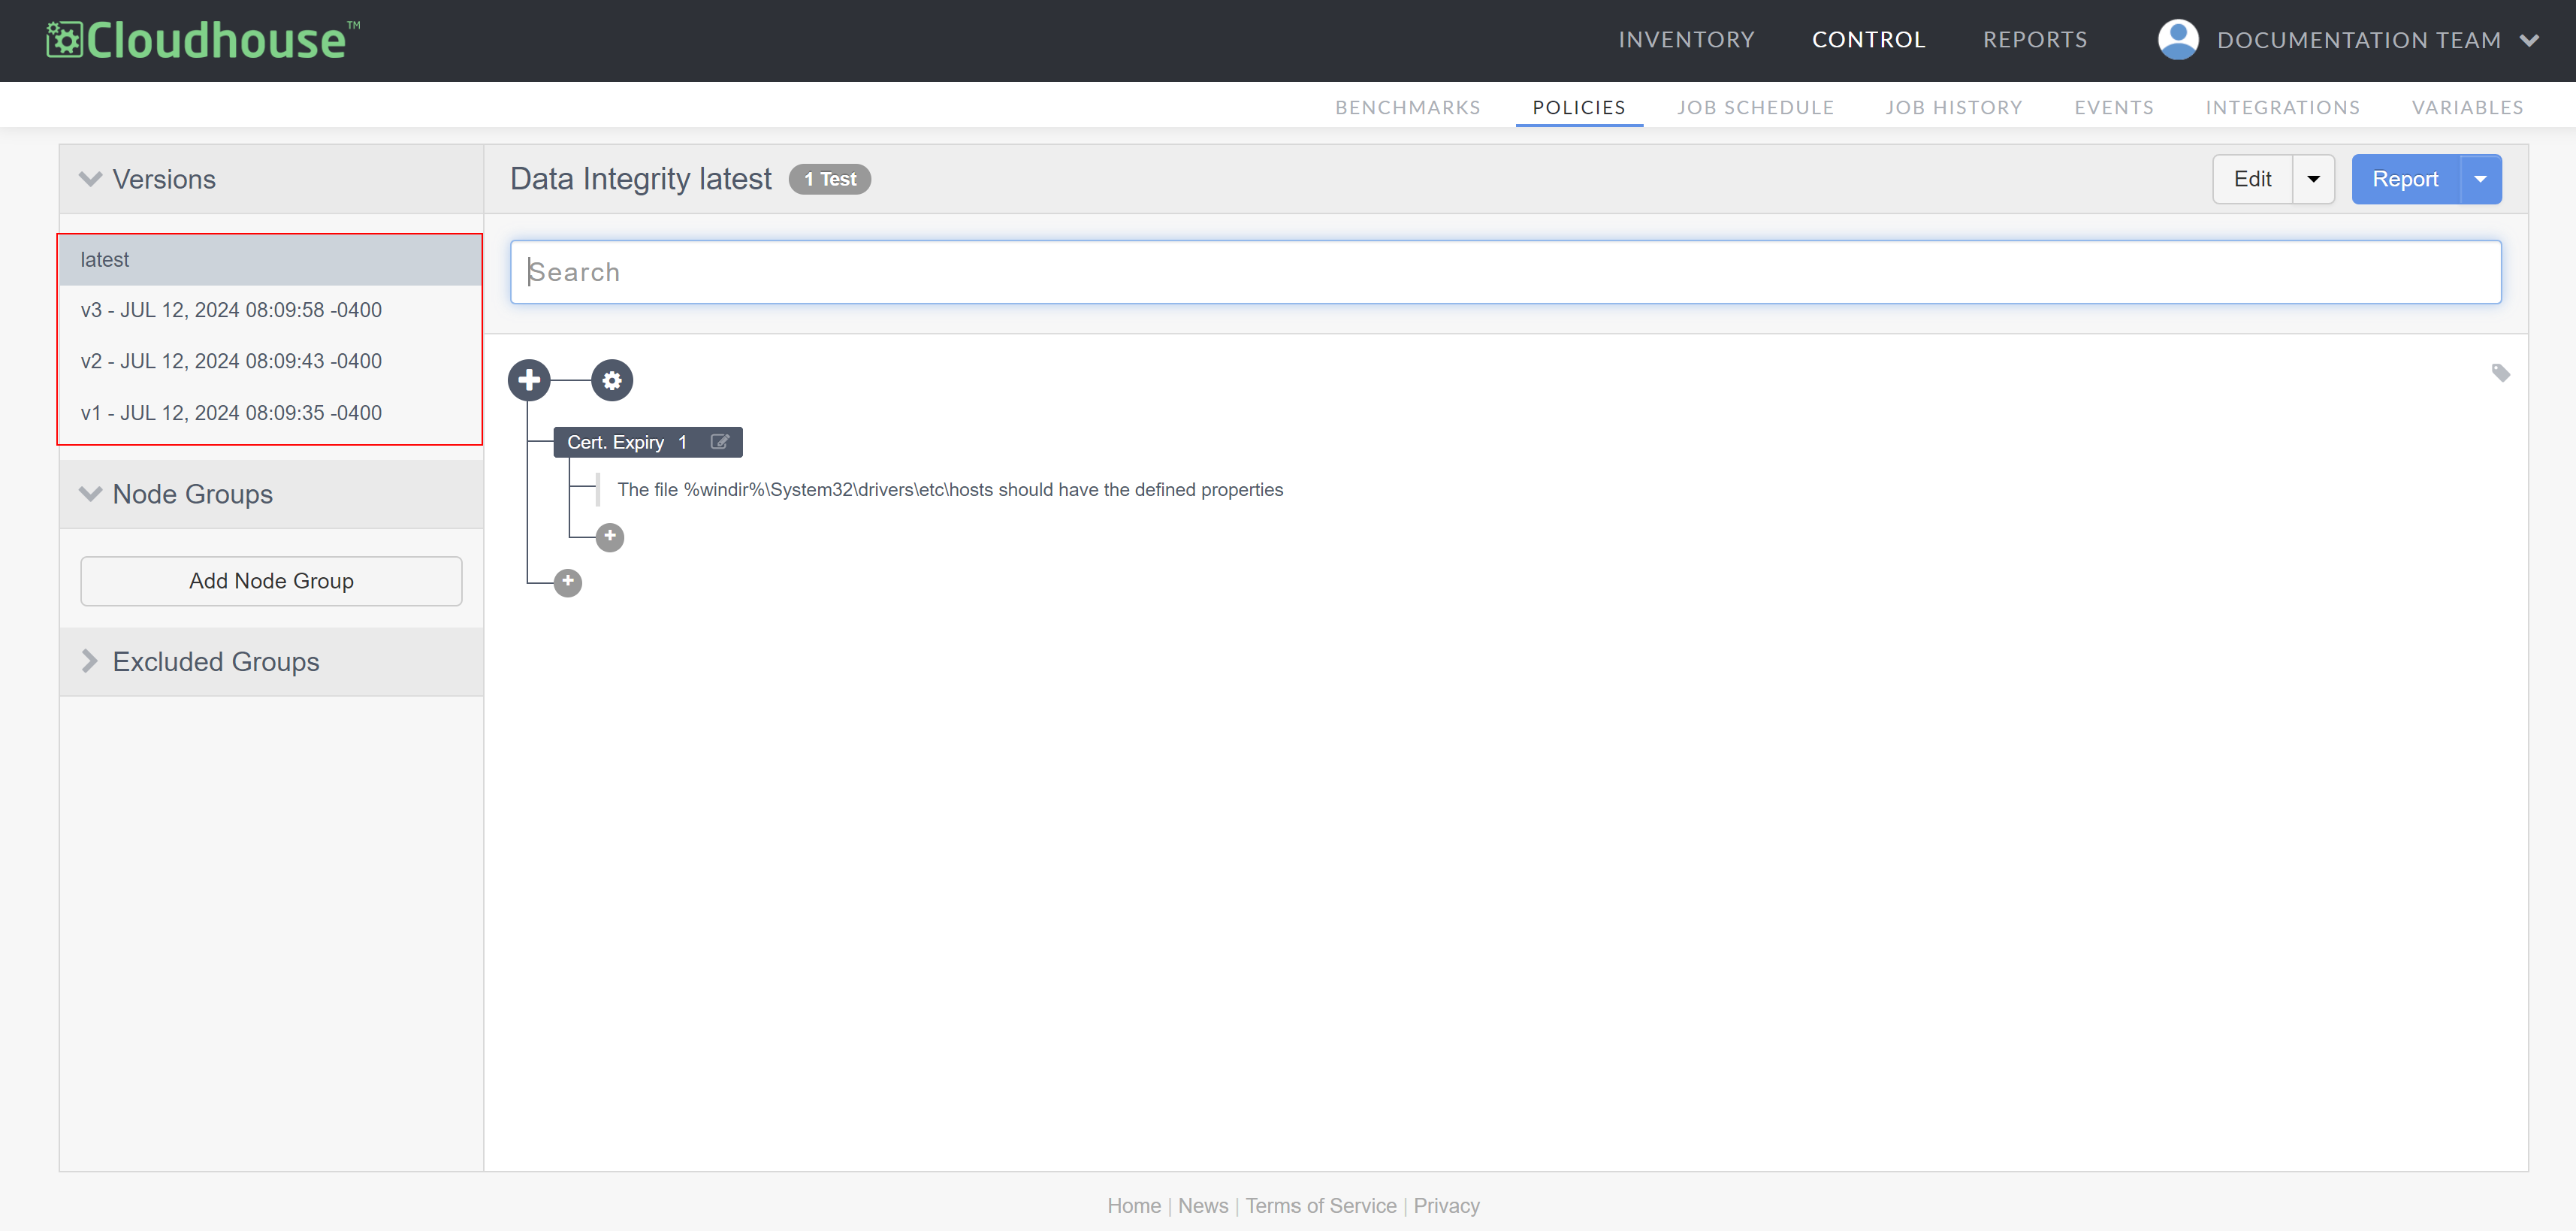
Use the Versions drop-down menu to select the policy version you want to tag.
-
Click the Tag button (
 ) to display the tag text field. Enter the text you want to use as a tag and press Enter to confirm.
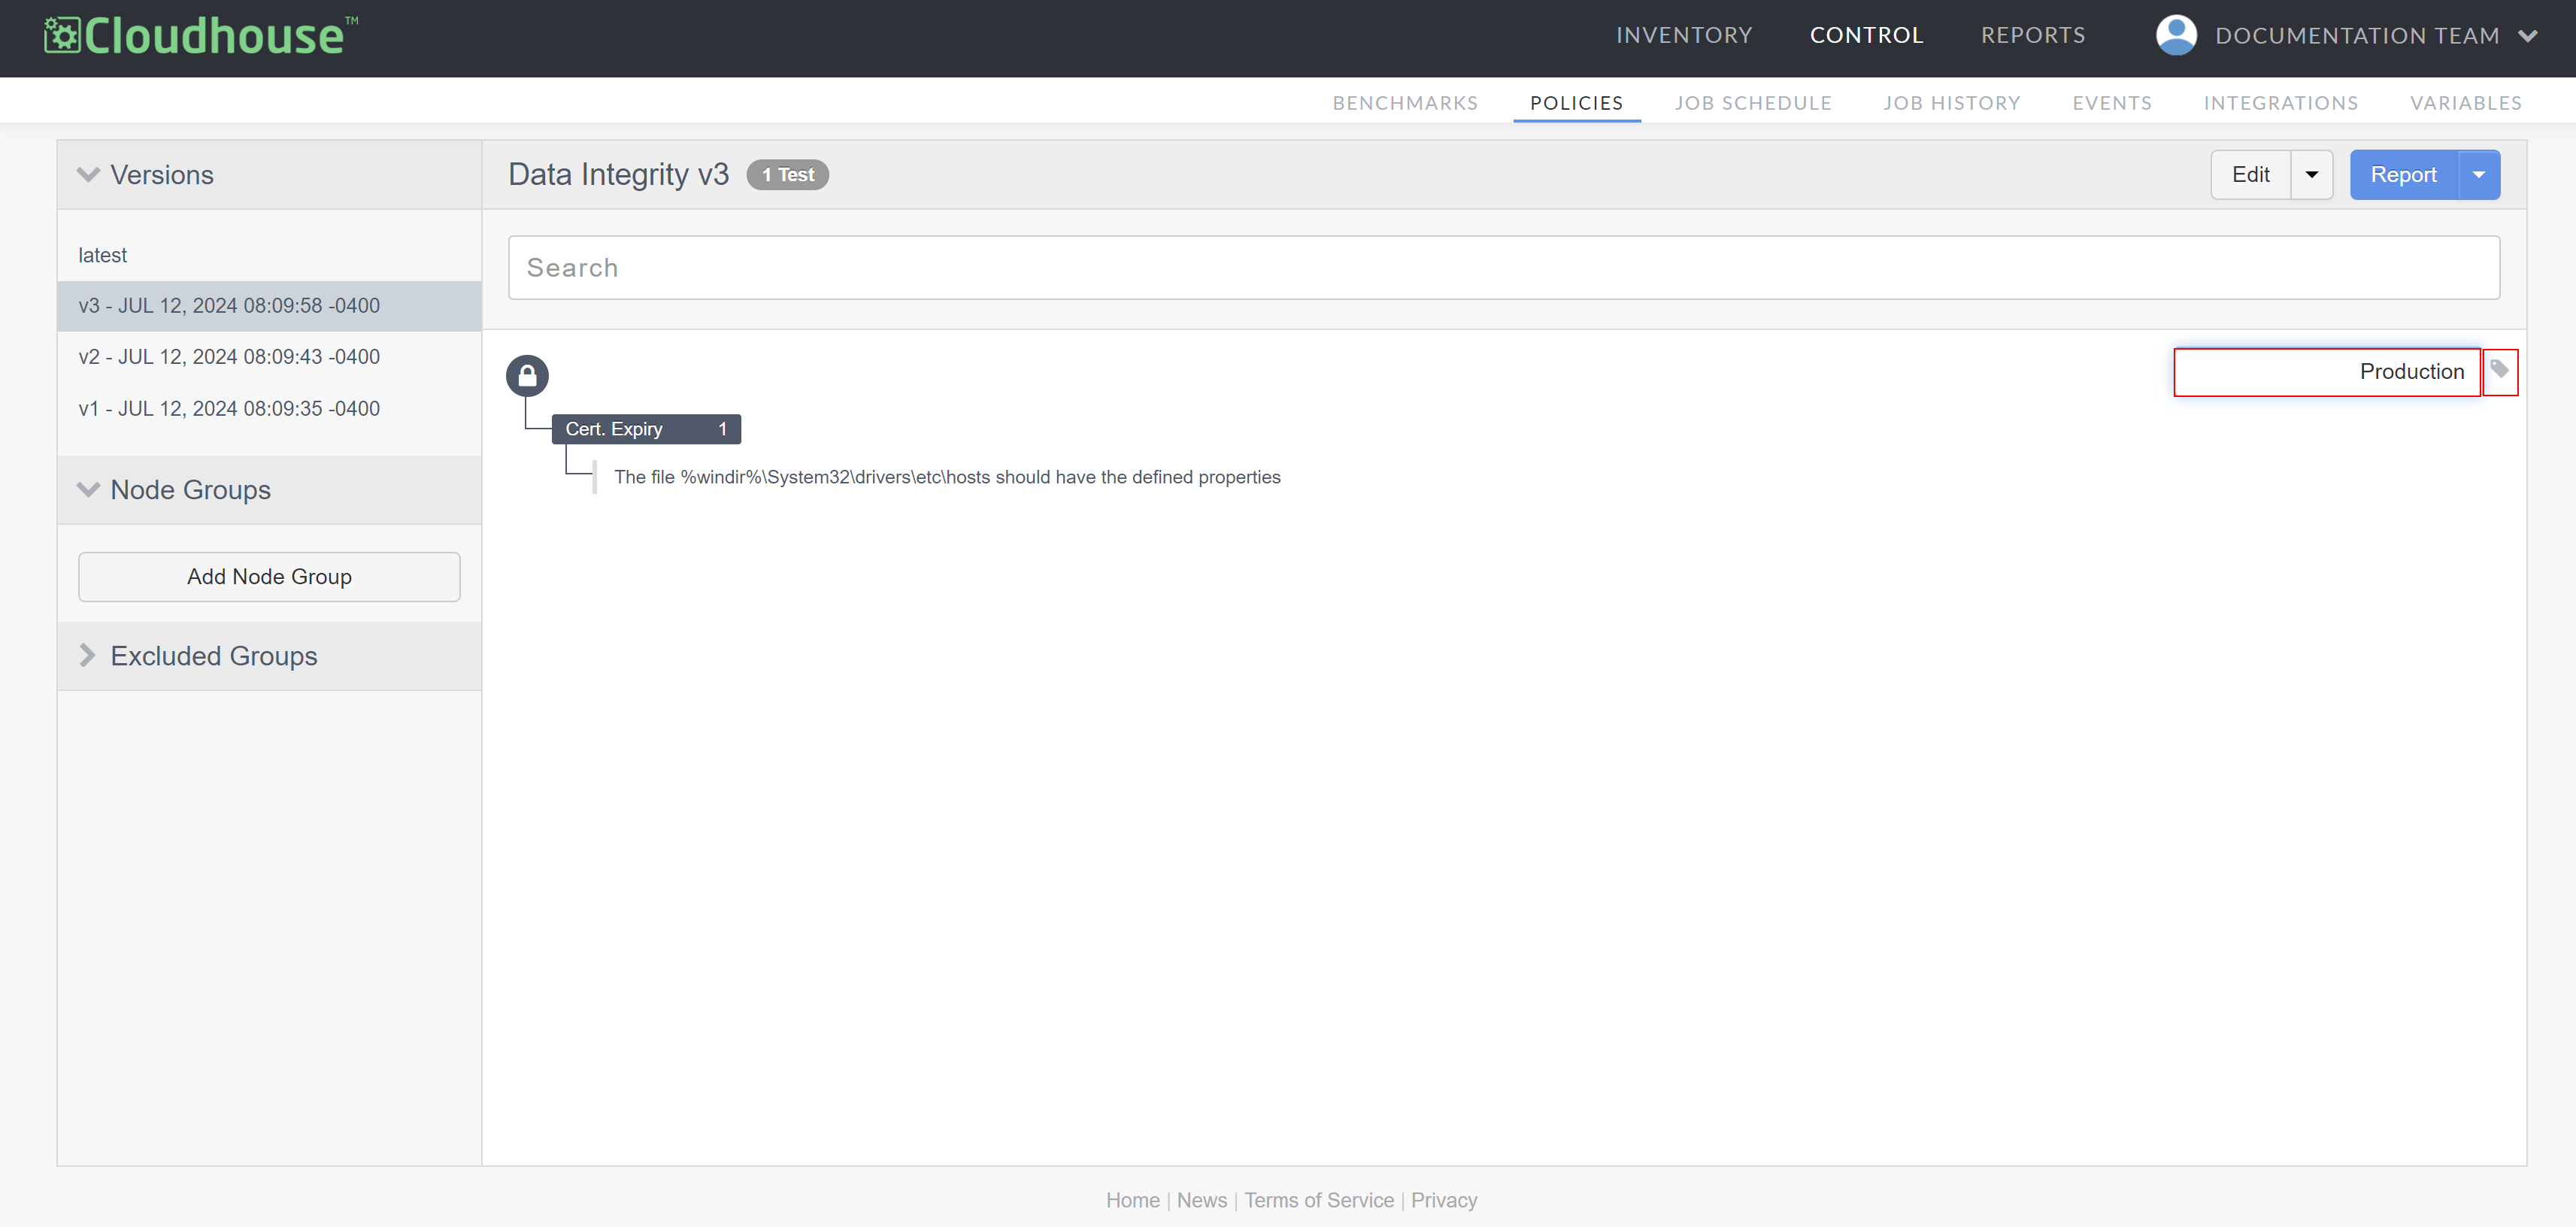
Once confirmed, the tag is attached to the policy version, as displayed in the Versions drop-down menu. The tag is also visible next to the Tag button ().
Note: By default, the tag replaces the timestamp attached to the policy.